Landscaping Project EP5: Teardown
In late April of 2018 we started the full process of renovating our yard. We had already spent plenty of time planning and brainstorming what we wanted over the winter, and now that the ground was no longer frozen, it was time to get dirty!
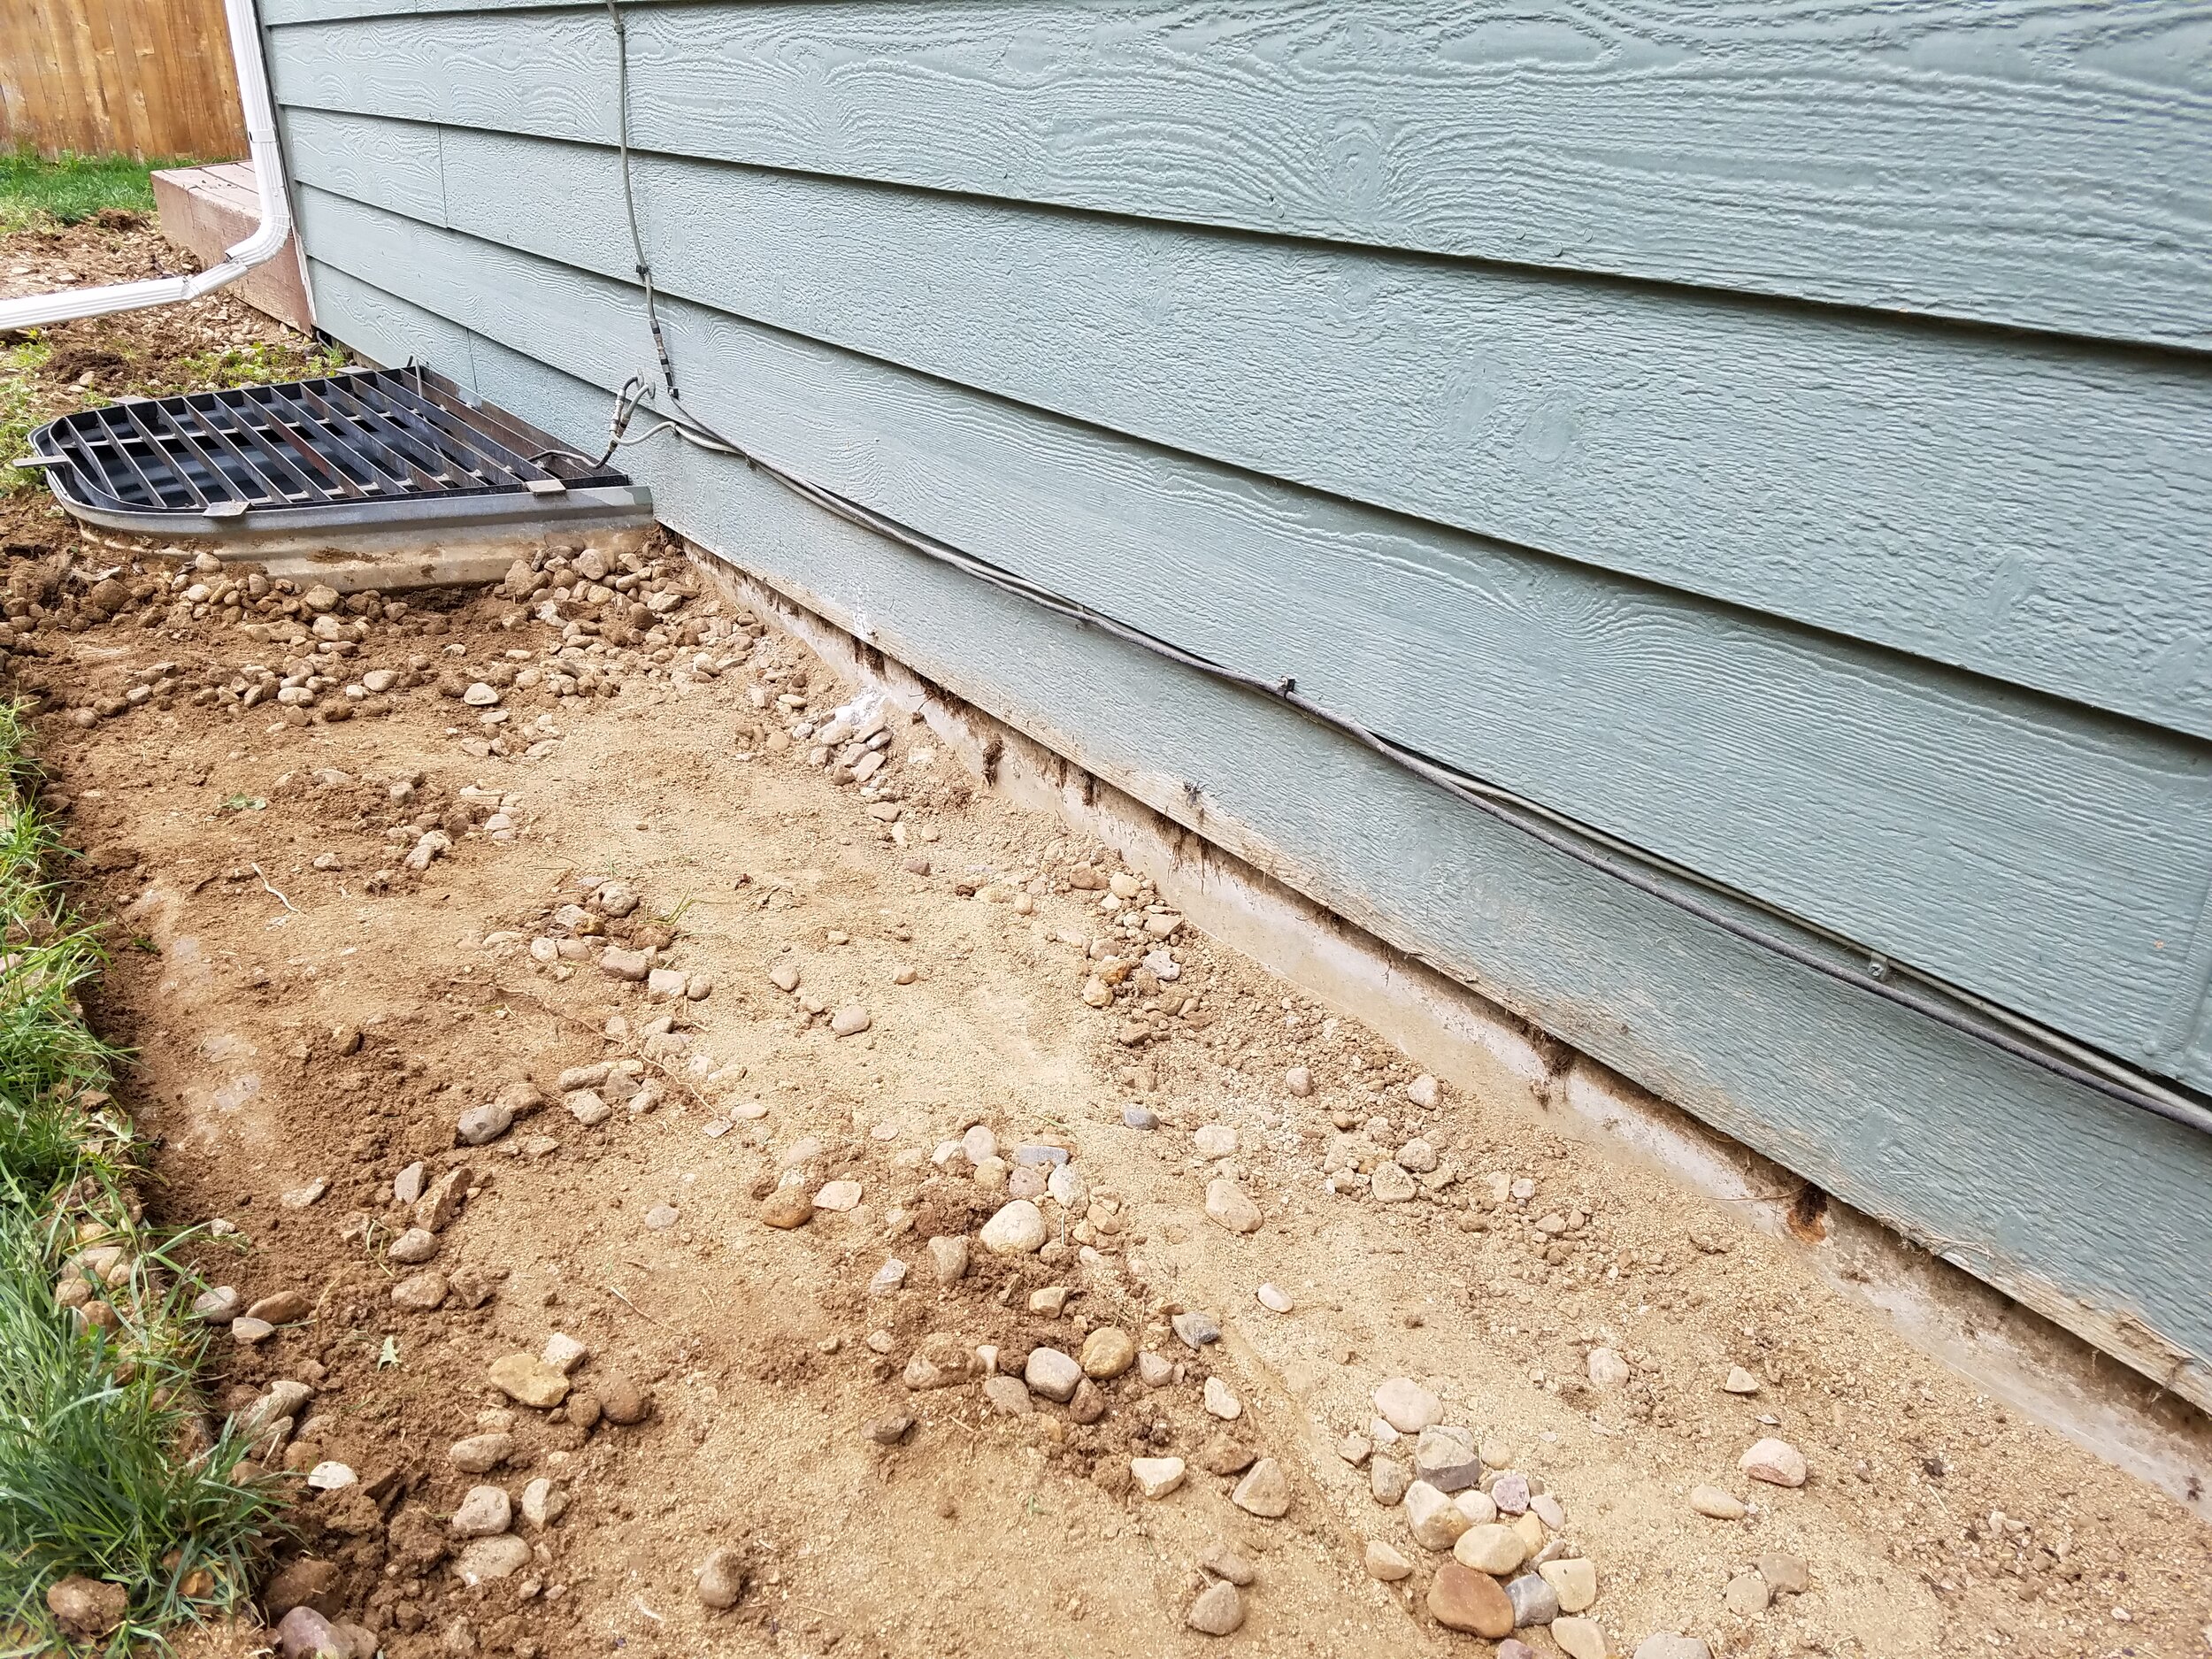
We started by removing all of the flagstone in the yard (the front and back patios), and storing it in the backyard near our garage. It turns out that we had a lot of flagstone. It also turned out that the front patio had a lot of ant hills beneath it. Luckily these didn’t cause much damage to the house where the siding was buried, but you can see that the bottom piece of siding needed to be replaced due to being buried. After some diatomaceous earth mixed into the ant hills and a lot of heavy lifting, we were able to move and stack up all the flagstone in the yard.


The next step was to prep the backyard for grading, which essentially entailed pulling out the existing landscaping rock, edging, and anything else that might be in the way. A rake, a shovel, and pick were helpful tools here. First, we removed the landscape edging using the pick to pry it out of the ground. Then, after scooping up the rocks on the surface with a shovel, we were able to pull what remaining landscape fabric there left was to get everything down to the underlying dirt. This part wasn’t exactly easy, as the old, black plastic fabric that was used tended to tear. It also resembled something close to Swiss cheese from the many years of sitting in the ground and being stepped on, weeds growing through it, etc.


